
Getting Started with iPhone Photography: Everything You Need to Know
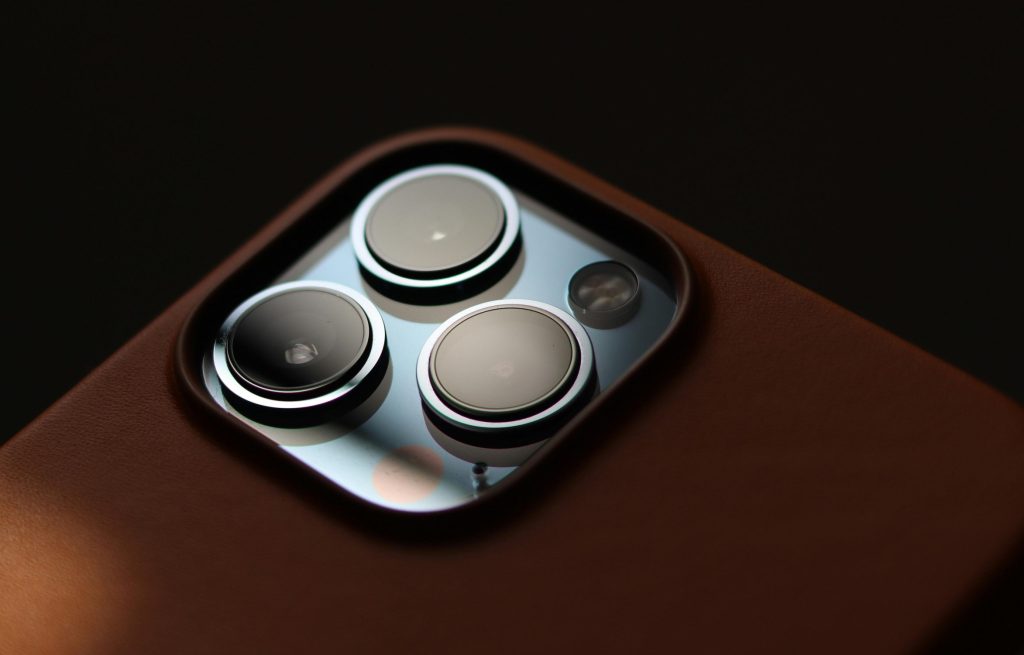
If you’ve been following my journey, you already know how much I’ve come to rely on my iPhone as a serious camera. Over time, I’ve gotten pretty familiar with its quirks—the good and the not-so-good—and I’ve experimented with quite a few third-party apps to get more of that ‘DSLR’ feel.
In this article, I’ll walk you through how to set up your iPhone to get the best images possible so that it can become a competent camera along side your DSLR or mirrorless cameras. But before we dive into the settings, let’s take a closer look at some of the technical features that make the iPhone such a powerful tool for photographers.
File Formats
There are several file formats available for capturing images in iOS, and it can be easy to get confused. So, let’s spend a little time on this to start.
The following formats are available using the default iOS camera app
HEIF
The default format starting with iOS 11 that offers better compression and higher image quality than jpeg. This is the format I use for “non-serious” images—your typical selfies, snapshots, etc.
JPEG
More compatible than HEIF, but larger and slightly less quality than HEIF.
ProRAW
This is Apple’s 12-bit “enhanced” RAW format. The images are run through Apple’s Deep Fusion and SmartHDR algorithms, which use multiple exposures and machine learning to add dynamic range and detail. These are “destructive” processes in that they modify the sensor data.
While it’s not a true “unprocessed” RAW file, it is still much better than any compressed format and offers greater flexibility in post-processing. These images are saved in the universal DNG format, which is supported by most, if not all, raw editing software, including Lightroom.
Note: One limitation is that ProRAW is only available in Apple’s “Photo” mode. When using the Portrait or Pano modes, images can only be captured in either HEIF or JPEG.
RAW
Finally, the iPhone supports a “pure” RAW format, which consists of just the raw sensor data without any processing. Unfortunately, this RAW format is only available through third-party apps like Lightroom Mobile, Pro Camera, or Halide.
If you are only using the built-in iOS camera app, you only have access to HEIF, (or JPEG,) and ProRAW. This means you will have to remember to toggle between HEIF and ProRAW depending on the situation you’re in.
RAW or ProRAW?
Now you may be wondering why you would want to use RAW instead of ProRAW and visa versa. Here are some differences worth knowing about that have important implications for what RAW format you choose to use.
RAW bypasses Apple’s Fusion and SmartHDR processing, which can sometimes be too aggressive with noise reduction, resulting in a “plasticky” appearance to some details. Since RAW is unprocessed, it offers the greatest creative freedom in editing, as you don’t have to “undo” any processing you may not like.
However, there are several significant advantages to using ProRAW over RAW.
- RAW files are limited to 12MP, regardless of the lens used. In contrast, ProRAW files can be up to 48MP with the ultra-wide and wide-angle lenses, and 24MP with the 2x lens.
- ProRAW leverages Apple’s powerful computational processing, enabling some amazing capabilities, especially in low light and night settings. This includes SmartHDR, which significantly extends the iPhone’s dynamic range without creating that overly gimmicky HDR look we’ve all seen too often.
- ProRAW also gives you much closer focusing range, which is great for close-up and macro images.
Yes, this can get a bit complicated and it took me a while to wrap my head around all of it. Here are some general guidelines that may help.
A) If you want the pure sensor data without any processing whatsoever (potentially giving you the greatest creative freedom,) then choose RAW. You will need to use a 3rd party app, like Lightroom Mobile to capture your images.
B) If you prefer to take full advantage of Apple’s computational processing, which is pretty amazing, but still have the flexibility of a raw editing, then use ProRAW. This includes close-up photography, as mentioned above.
C) For images that you don’t need to be in any raw format, use HEIF.
So now the question is how do we make this easy in the field when we just want to focus on capturing a fleeting moment or experience? Well, I’ll suggest two options if you’re just getting started and want to keep things simple.
Choose what works best for you based on your experience and how straightforward you want your iPhone photography to be. Keep in mind that iPhones are highly advanced computers, making the “phone” label more of a convenient term that has been obsolete for quite some time.
Option A – iOS Camera App Only
For the simplest setup, I recommend using the iOS camera app set to the HEIF format for quick and easy snapshots, and toggling ProRAW in Photo Mode when you want the best possible image quality using Apple’s computational processing.
To set this up, head into your Settings>Camera>Formats.
- In the Camera Capture area, confirm that “High Efficiency” is checked.
- In Photo Capture, set Photo Mode to 24MP to get the highest resolution from the wide-angle lens. (Applies to HEFI format only.)
- Below that enable the “ProRAW & Resolution Control” toggle, then tap “Pro Default” and set that to ProRAW Max.

When you open the camera app in Photo mode, you’ll see the “RAW max” icon in the top left corner of the screen. If there’s a line through it, that means you’ll be capturing in HEIF. Tap it once to remove the line and enable ProRAW capture. As mentioned earlier, if you switch to Portrait or Pano mode, the RAW max icon will disappear since these modes currently only support HEIF.


That’s it. Just remember to change the format depending on the type of image you want to make. There is one additional setting that can help with this. Head to Settings>Camera>Preserve Settings. Here you can select which camera settings remain persistent even after closing the app, so you don’t have to remember to change them every time you open the app again.
I have ProRAW & Resolution Control toggled on so that once I enable Pro RAW in the app, it stays on unless I disable it. But this is my preference, and you might prefer to set it every time. Choose what works best for you.
Option B – iOS Camera and Lightroom Mobile

If and when you want to shoot in plain RAW, I suggest using the Lightroom Mobile app set to capture to DNG. It has a nice, clean looking built-in camera with three modes to choose from.
- AUTO – Fully automatic capture to DNG
- PRO – Enables manual controls for exposure, shutter, ISO, white balance and focus. (The aperture is fixed on all iPhones based on the lens.)
- HDR – This mode works by automatically scanning the scene to determine the correct exposure range and then capturing three DNG files which are then automatically aligned and merged in the app.

If you have a subscription, images are automatically added to your Adobe cloud and synced to Lightroom Classic if you have cloud sync enabled.
Quick iPhone Tips for Better Images
Finally, here are a few quick tips that have helped me get the most out of my iPhone as a serious camera.
Clean the lenses before using your iPhone. Since you’re constantly handling your device, it’s easy to get fingerprints and smudges on the lenses, which can make your images look hazy. Make it a habit to wipe them down with a cloth—or your shirt, if necessary!
Remember to shoot horizontally and vertically. Remember to shoot both horizontally and vertically. Don’t get into the habit of always holding your iPhone upright. Turn it sideways for horizontal framing—it seems obvious, but you’d be surprised…
Learn to adjust exposure. Learn to adjust the exposure. In the iOS app, tap the screen to set your focus point, then slide your finger up or down to adjust the exposure. Slide up to increase, and down to decrease.
Configure the Action button (iPhone 15 Pro) On the iPhone 15 Pro, you can configure the new Action button to automatically open the camera app in a specific mode. This makes using the iPhone for photography quick and easy – just press the Action button and frame your image!

Conclusion
As you can see, Apple has created a very capable and feature rich camera that is way beyond a simply point and shoot. And there’s no doubt it will only improve in future versions of the iPhone.
There are many other options to using the iPhone camera, such as using a third-party app for all of your iPhone photography, such as Halide Mk II, or Pro Camera. There are also specialized apps for capturing long exposures up to 30 seconds.
**I’ll be doing a much deeper dive into iPhone photography, including my favorite third-party apps, how I edit and print my iPhone images, and much more in the Creative Path Academy.
Join the waitlist to get early access and download a Lightroom import checklist PDF!
Thanks, Robert — very useful basic (but not yet known) information. Very helpful to know how to make the ProRAW mode the default instead of having to remember to turn it on each time. I also did not realize that the ProRAW format is an enhanced RAW, though I did notice that the images taken with this feature were more vivid than RAW photos generally.
I guess the software changes each time there’s an update, which makes it hard to follow the instructions sometimes. I have the 14 ProMax and even though I can adjust the exposure, there’s no indicator on my screen of how much I have adjusted it, i.e. there’s no 0.0 showing on the screen. Am I missing a setting or is this just a feature of the newer iPhones.
Looking forward to hearing more about the Creative Path Academy.
Thanks for the feedback, much appreciated!
Yes things can change from one iOS to another, but the camera controls have remained pretty consistent over time. IF you tap the screen to focus and then drag up or down, you will change the exposure, but it doesn’t show a numerical value as you stated. However, if you tap on the exposure readout at the top or left (depending on your iPhone’s orientation) then you will get a more traditional gage with numbers.
(See the iPhone screenshot with the red flower above.)
Thank you Robert. Very good review of iPhone photo capture. I would like to use LR mobile to take photos, but having them sync to my account is not what I want. Is there a way to get these photos into the “Photos” on the iPhone (device). I don’t use the sync function in LR. Just another unnecessary monthly cost I wish to avoid.
Thanks for the feedback Bob, appreciate it. As to your question, it depends what you’re tying to accomplish.
Yes you can use LR mobile for free to capture images, and then you can “share” them to your Photos app. Just select the image(s) in LR, then click on the Share icon at the top and select “Save Copy to Device.” However, without a subscription, you’ll be missing some of the more advanced editing features in the app (iPhone and iPad.)
BTW, If you use Lightroom Classic, that already includes the apps. so you won’t have to pay any additional subscription fees.
If you don’t have a subscription to Lightroom, but want access to ProRAW and RAW capture, then I also suggest looking into the Pro Camera app which captures all formats, and will save images directly to your Photos app eliminating that extra step when using LR. It’s an excellent app with dslr like controls and a nice clean interface.
Hope that helps!
Hi Robert,
This excellent writeup pulls together all the sometimes confusing settings, camera modes, and apps in a concise and clear way. It is indeed ” The instructions that shoduld have been in the box”. I am shocked by the fact that manufacturers don’ publish this themselves. You will further earn our praise if you can update this after the new iPhone comes out next week.
Again, thank you.
Thanks Richard, appreciate the feedback! To be fair, the information is posted by Apple, but it’s not promoted and only talks about the features from Apple’s perspective, which leaves out other ways that the hardware can be utilized by developers. And the general public isn’t really interested in these details, so it’s left for those of us who do care to find on our own.
Yes, I do plan to get an iPhone 16 Pro and will do an in-depth review of the camera features here.